Piwik

Skip to main content

Coating Thickness Standards Overview

Certified Coating Thickness Standards are used to verify the accuracy and operation of coating thickness gauges and are an important component in fulfilling both ISO/QS-9000 and in-house quality control Coating Thickness Standards requirements. Contracts often specify that coating thickness measurements be taken by gauges whose measurement accuracy is traceable to a National Metrology Institute such as NIST or PTB.

Coating Thickness Standards

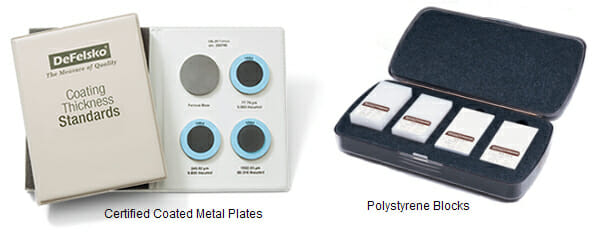
Certified Coated Metal Plates

Certified Coated Metal Plates are the best solution for verifying the calibration, accuracy and operation of most magnetic, eddy current or ultrasonic coating thickness gauges including magnetic pull-off gauges as well as many competitive models. They fulfill both ISO and in-house quality control requirements. At ±0.43µm (±0.017 mil) Certified Coated Metal Plates are our most accurate solution.

Coated Metal Plates

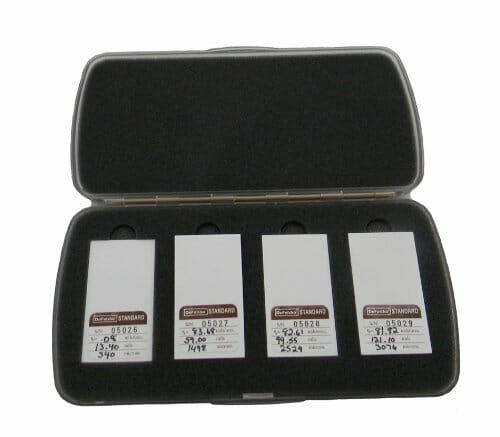
Certified Polystyrene Blocks

Certified Polystyrene Blocks are for use with gauges that measure over 1500 µm (60 mils).
They have an accuracy of:

+(2.5 µm + 0.05% of thickness)

+(0.1 mil + 0.05% of thickness)

Polystyrene Blocks

Certified Plastic Shims

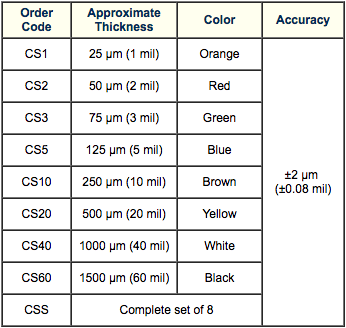
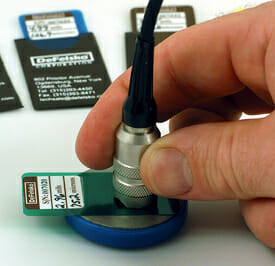
Certified Plastic Shims (foils) provide an economical alternative to coated metal plates. They have a reduced accuracy of ±2 µm (±0.08 mil). A coating thickness gauge measures shim thickness when this shim is placed over a smooth metal surface (zeroplate).
Alternatively, they can be placed over an uncoated metal substrate. They are not suitable for use with magnetic pull-off gauges.

Certified Shims

Non-Certified Plastic Shims

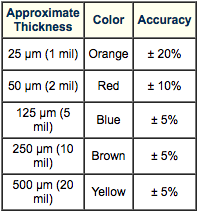
Non-Certified Plastic Shims (foils) provide a quick operational check of the instrument and they allow the user to perform practice measurements when placed over metal. They are not suitable for use with magnetic pull-off gauges.

Non Certified Shims

Zero Plates

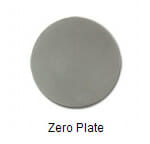
Zero plates are uncoated steel (1018 steel) or aluminum (6061-T6) disks. A zero plate is included with most coated metal sets. The first gauge measurement is on a zero plate to verify that the gauge measures zero correctly. Electronic gauges can usually be adjusted to “0” if necessary. A zero plate is also a convenient base onto which a plastic shim or polystyrene block can be placed for measurement. Plate Diameter: 38 mm (1.5″)

Zero Plate
Coating Thickness Standards Prices